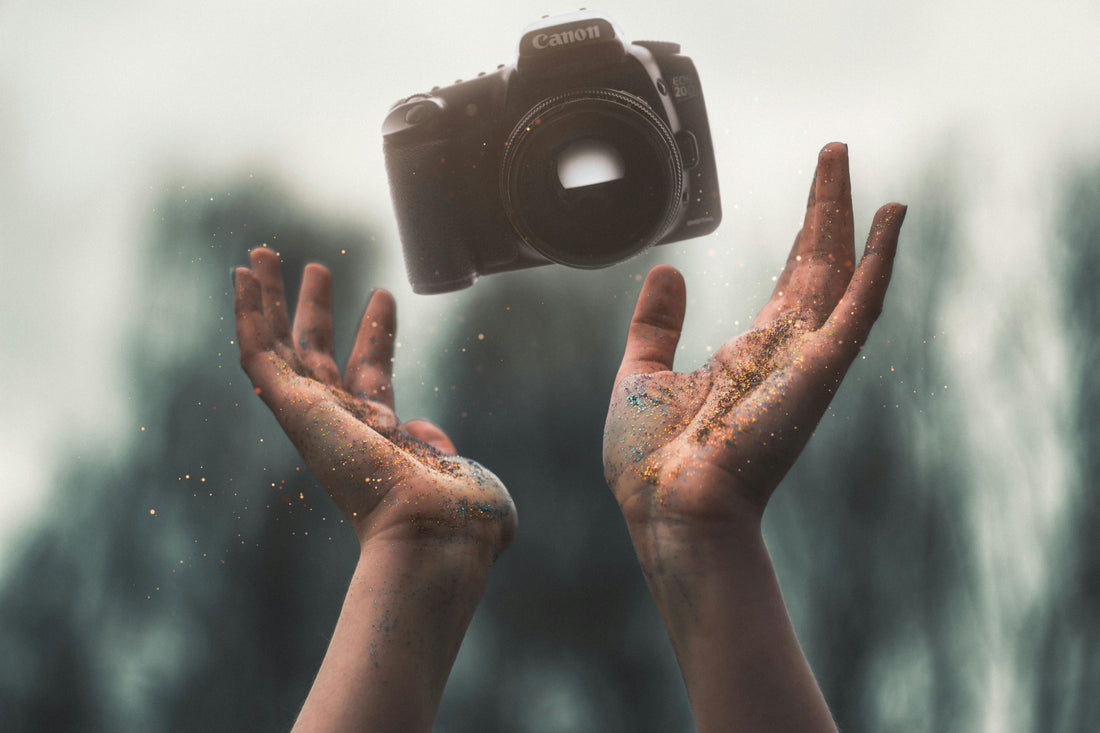
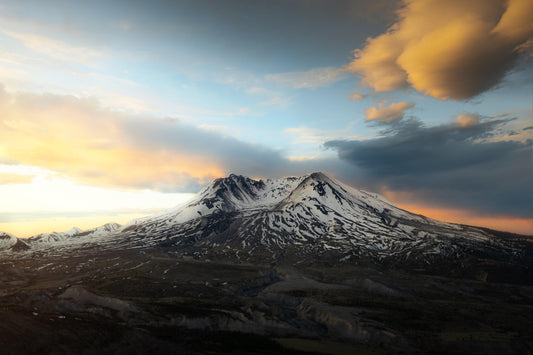
Understanding the fundamentals of camera settings is essential for any photographer, regardless of skill level. In this section, we'll delve into the intricacies of aperture, shutter speed, and ISO, providing practical examples and easy challenges for readers to try.
Aperture
Aperture refers to the size of the opening in the lens through which light passes. It not only controls the amount of light entering the camera but also affects the depth of field—the range of sharpness in an image. A wide aperture (low f-number) creates a shallow depth of field, perfect for isolating subjects from the background in portraits or emphasizing a particular element in a scene. On the other hand, a narrow aperture (high f-number) increases the depth of field, ensuring that more of the scene is in focus, ideal for landscape photography.
Example: Challenge yourself to experiment with aperture priority mode on your camera. Find a stationary subject with an interesting background, such as a flower in a garden or a person against a cityscape. Start by setting your camera to aperture priority mode (usually denoted by "A" or "Av" on the mode dial) and choose a wide aperture (e.g., f/2.8 or f/4). Take a few shots, focusing on the subject and observing the blurred background (bokeh) effect. Then, switch to a narrow aperture (e.g., f/11 or f/16) and take additional shots, noting the increased depth of field and how more of the background becomes sharp.
Shutter Speed
Shutter speed determines the duration for which the camera's shutter remains open, allowing light to reach the camera sensor. It directly influences the motion blur in an image—faster shutter speeds freeze motion, while slower shutter speeds introduce motion blur. Understanding shutter speed is crucial for capturing dynamic subjects or conveying a sense of movement in your photographs.
Example: Set your camera to shutter priority mode (often labeled as "S" or "Tv" on the mode dial) and find a moving subject to photograph, such as a passing car or a running pet. Start by experimenting with fast shutter speeds (e.g., 1/500 sec or faster) to freeze the motion of the subject in sharp detail. Take a series of shots, adjusting the shutter speed as needed to capture the desired effect. Next, switch to slower shutter speeds (e.g., 1/30 sec or slower) and try panning with the moving subject to create a sense of motion blur while keeping the subject relatively sharp against the blurred background.
ISO
ISO measures the sensitivity of the camera sensor to light. A lower ISO setting (e.g., ISO 100 or 200) is ideal for brightly lit conditions, as it produces images with minimal noise (grain) and maximum image quality. In low-light situations, increasing the ISO (e.g., ISO 800 or higher) allows you to capture well-exposed images without compromising shutter speed or aperture settings, but it may introduce noise.
Example: Set your camera to manual mode and choose a dimly lit environment, such as a room with soft indoor lighting or an outdoor scene during twilight. Start by selecting a low ISO setting (e.g., ISO 100 or 200) and adjust the aperture and shutter speed to achieve a properly exposed image. Take a test shot and inspect the image for noise. Gradually increase the ISO setting while maintaining the same aperture and shutter speed until you achieve a well-exposed image without excessive noise. Experiment with different ISO settings and observe how they affect image quality in low-light conditions.
Conclusion
Mastering the basics of aperture, shutter speed, and ISO is the foundation of achieving creative control over your photography. By understanding how these settings interact and experimenting with them in various scenarios, you'll develop the skills necessary to capture stunning images that truly reflect your artistic vision. Take on the challenges provided and continue to practice, as there's always more to learn and explore in the world of photography.


