Welcome back, photographers! We're picking up where we left off in our beginner's guide to photography. This is section three of part two, focusing on manual vs automatic exposure for your compositions. If you've been following along from our previous discussion on the metering modes and histograms, you're in the right place!
Composition Essentials - Continued
In this section, we'll unravel the distinctions between manual and automatic exposure modes, providing practical examples to empower you in capturing perfectly exposed images. Navigating through exposure modes is a pivotal step for any budding photographer and we're excited to help teach you the ins and outs of mastering both techniques!

Automatic Exposure Mode: Let the Camera Decide
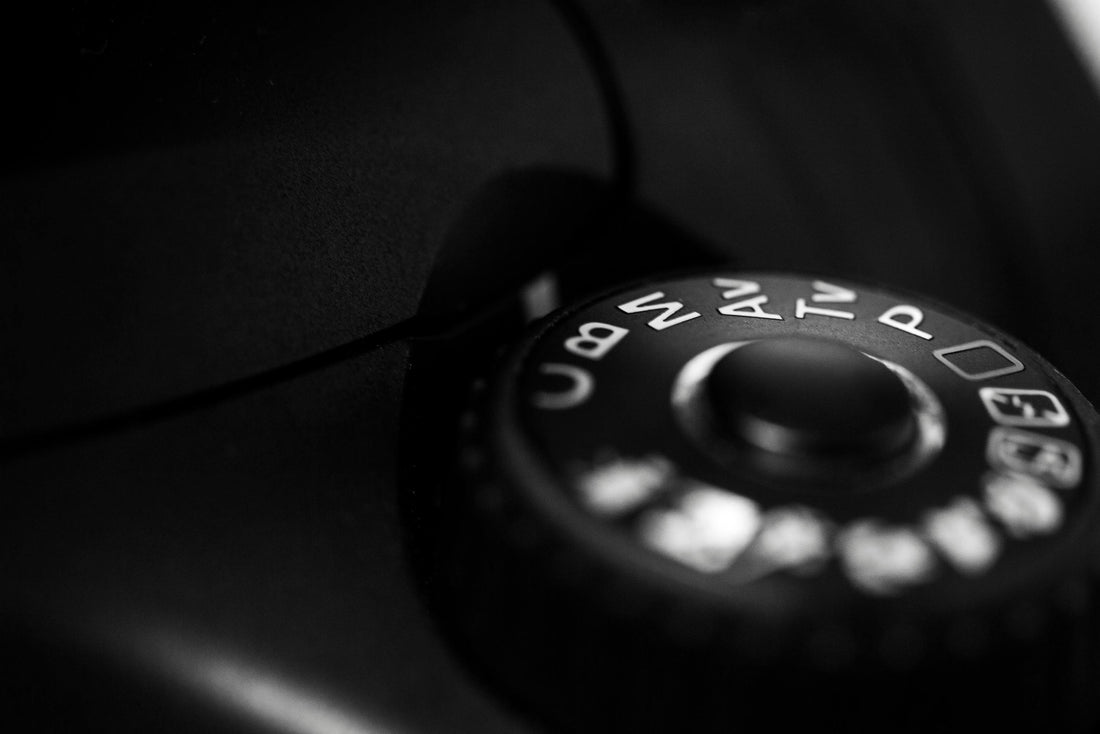
Automatic exposure modes, such as Aperture Priority (A/Av), Shutter Priority (S/Tv), and Program Mode (P), allow your camera to make crucial exposure decisions.
-
Aperture Priority (A/Av):
- Ideal for controlling depth of field, allowing you to set the desired aperture while the camera adjusts the shutter speed for optimal exposure.
-
Shutter Priority (S/Tv):
- Perfect for capturing motion or freezing action, you set the shutter speed while the camera adjusts the aperture accordingly. You can always refer back to our exposure triangle in section one for proper settings to get your desired result.
-
Program Mode (P):
- Offers a balance between control and automation, allowing the camera to set both aperture and shutter speed.
Real-life Practice: Use Aperture Priority mode to capture a portrait with a blurred background. Experiment with different apertures and observe how the camera adjusts other settings to maintain proper exposure. It's always a good practice to sequence these photos one after the other and then bounce back and forth to notice the differences. Your preferred target for this exercise is something like this photo below.

Manual Exposure Mode: Take Control of Every Setting
Manual exposure mode (M) puts you in the driver's seat, allowing full control over aperture, shutter speed, and ISO. Practicing and experimenting in manual mode is a great experience to work through. This is the best way to learn how your camera operates and how each setting applies a different result to your compositions.
-
Aperture:
- Control depth of field and the amount of light entering the lens.
-
Shutter Speed:
- Determine how motion is captured, freezing or blurring subjects.
-
ISO:
- Adjust sensitivity to light, crucial in low-light situations.
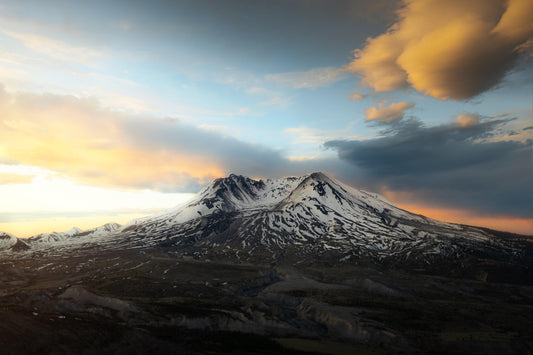
Real-life Practice: Engage Manual mode to capture a landscape during the golden hour. Experiment with various combinations of aperture, shutter speed, and ISO to achieve the desired exposure. Use our exposure triangle graphic to determine how the settings will effect the image.

Choosing Between the Two: Finding Your Comfort Zone
-
Automatic Exposure:
- Quick and convenient, allowing you to focus on composition while the camera handles exposure settings. Great for beginner photographers to play around with different subjects to start off, but limited on manipulating the composition to your liking. Useful for capturing quick photos which can easily be fine tuned in post-processing,
-
Manual Exposure:
- Offers creative freedom and precision, particularly beneficial in challenging lighting conditions. This is truly when the artistic nature expands in photography media. Not only will you learn more about your equipment by shooting in manual mode, you'll also learn the importance of all the technical aspects revolving around our craft. There's a noticeable difference in joy from manual shooting, into post processing, and then the final result compared to the same process using an automatic approach.
Real-life Practice: Capture a scene using both automatic and manual exposure modes. Compare the results and consider which mode aligns with your photographic vision. Automatic is a great option for beginners who are just getting into the photography game, but we strongly believe once you learn the importance of manual shooting you will never turn back!
Conclusion
As you embark on your photography journey, acquaint yourself with both automatic and manual exposure modes. Experiment, practice, and observe how each mode impacts your images. Whether you prefer the camera's assistance or desire complete creative control, understanding these exposure modes will significantly enhance your ability to capture stunning and well-exposed photographs.
To continue learning from our blog series for beginner photographers head on over to part two - section four - where we'll be covering an in-depth understanding between exposure compensation and bracketing.
![]()