
Part 4 Section 5 - Low-Light and Night Photography Settings
Part 4: Camera Settings
View all-
Part 4 Section 1 - The Basics of Camera Settings
Discover the secrets to captivating compositions! From the rule of thirds to visual balance, this blog unpacks essential composition techniques, empowering beginner photographers to create visually striking images that engage...
Part 4 Section 1 - The Basics of Camera Settings
Discover the secrets to captivating compositions! From the rule of thirds to visual balance, this blog unpacks essential composition techniques, empowering beginner photographers to create visually striking images that engage...
-
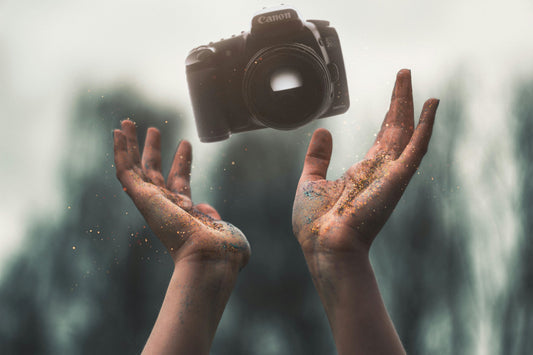
Part 4 Section 2 - Choosing the Right Settings ...
Unravel the mysteries of exposure with this comprehensive guide! Learn about the exposure triangle, metering modes, and creative techniques like bracketing and HDR photography. Gain confidence in using manual settings...
Part 4 Section 2 - Choosing the Right Settings ...
Unravel the mysteries of exposure with this comprehensive guide! Learn about the exposure triangle, metering modes, and creative techniques like bracketing and HDR photography. Gain confidence in using manual settings...
-
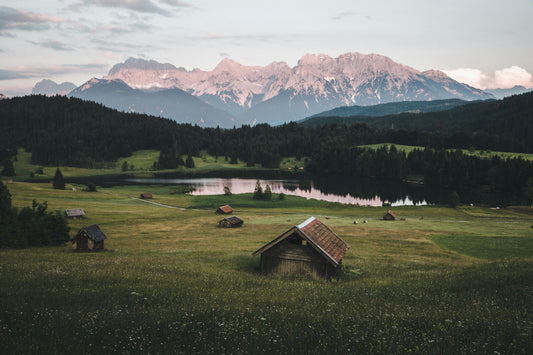
Part 4 Section 3 - Landscape Photography Settings
Illuminate your photography journey with expert lighting advice! Dive deep into understanding natural and artificial light, mastering indoor lighting, and unleashing your creativity with advanced light manipulation techniques. Transform ordinary...
Part 4 Section 3 - Landscape Photography Settings
Illuminate your photography journey with expert lighting advice! Dive deep into understanding natural and artificial light, mastering indoor lighting, and unleashing your creativity with advanced light manipulation techniques. Transform ordinary...
-

Part 4 Section 4 - Action and Sports Photograph...
Unlock the potential of your camera with this essential guide! Explore proper camera settings for portraits, landscapes, action shots, low-light conditions, and more. Elevate your photography skills and unleash your...
Part 4 Section 4 - Action and Sports Photograph...
Unlock the potential of your camera with this essential guide! Explore proper camera settings for portraits, landscapes, action shots, low-light conditions, and more. Elevate your photography skills and unleash your...


Support TheLifeWeCapture
-
Padded Non-Slip Mousepad - Aerial Ocean Blues
Regular price $20Regular priceUnit price per -
Padded Non-Slip Mousepad - Autumn Bliss
Regular price $20Regular priceUnit price per -
Padded Non-Slip Mousepad - Baby Chimp
Regular price $20Regular priceUnit price per -
Padded Non-Slip Mousepad - Baby Gorillas
Regular price $20Regular priceUnit price per


